CKD 8.5/ViewSat Ultra-lite/VBox7 (I think it is a modified Polar Mount, correct me if I'm wrong)
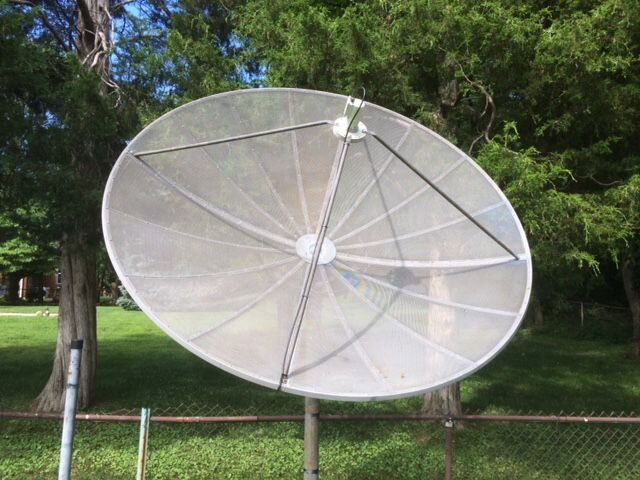
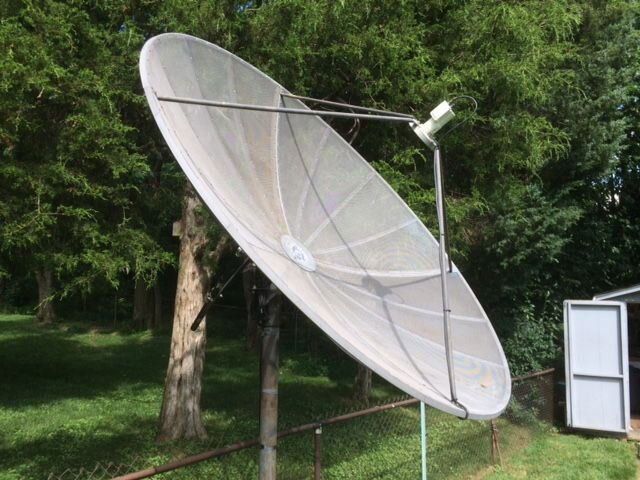
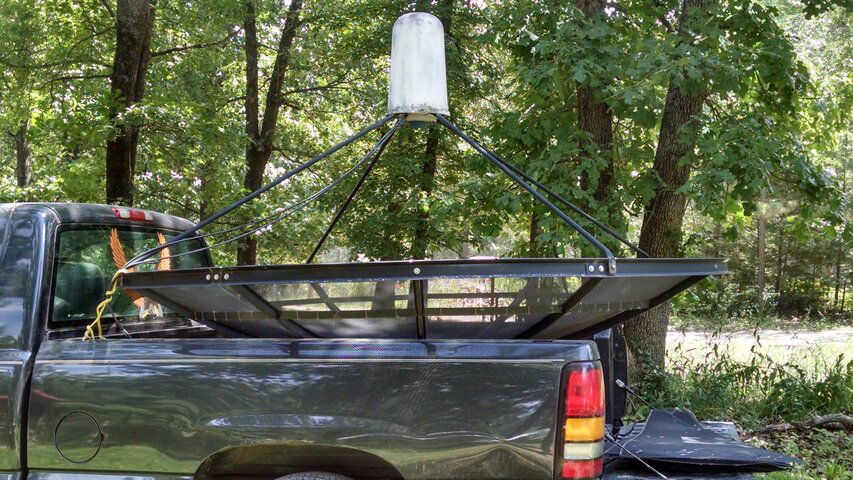
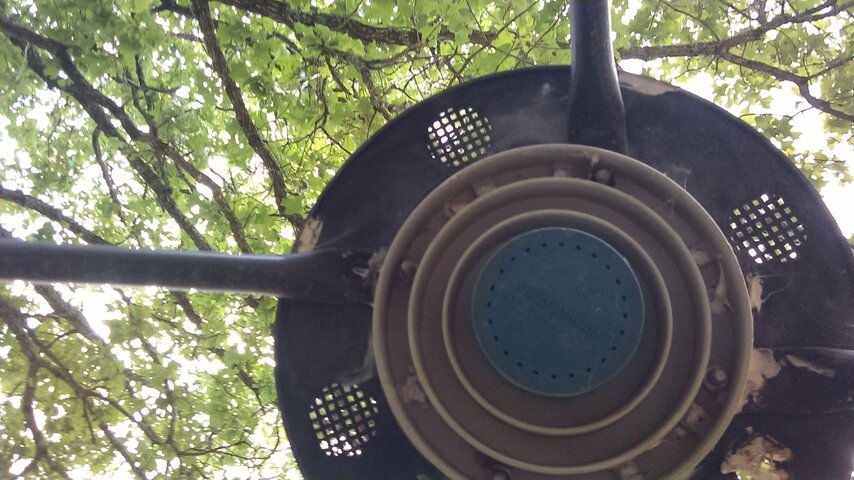
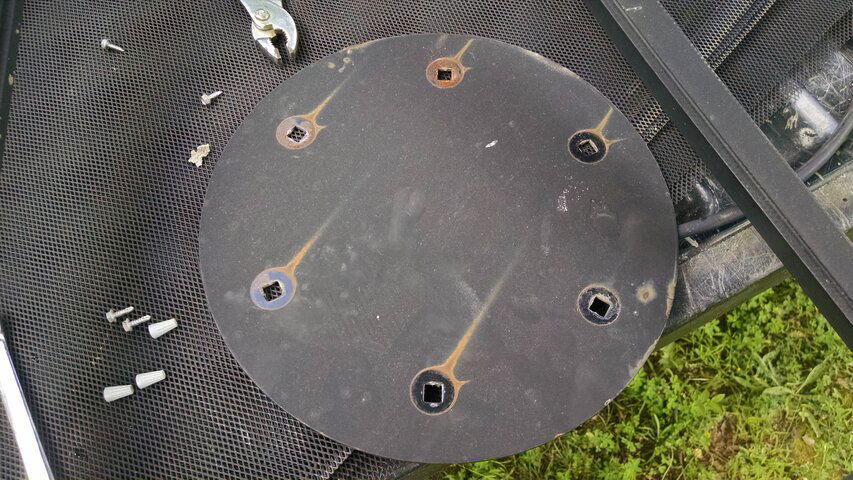
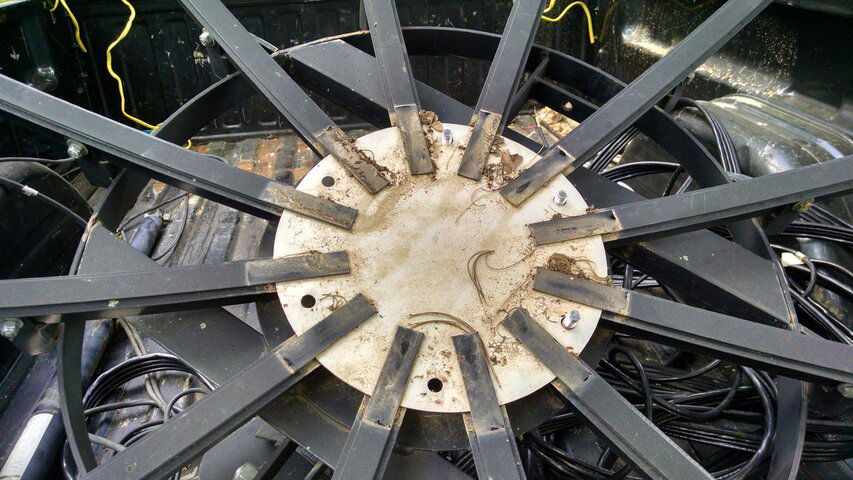
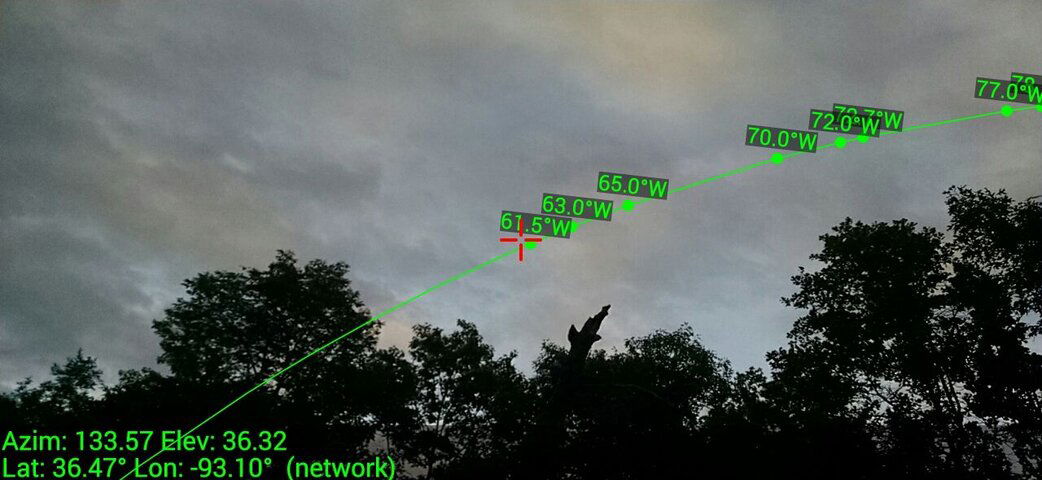
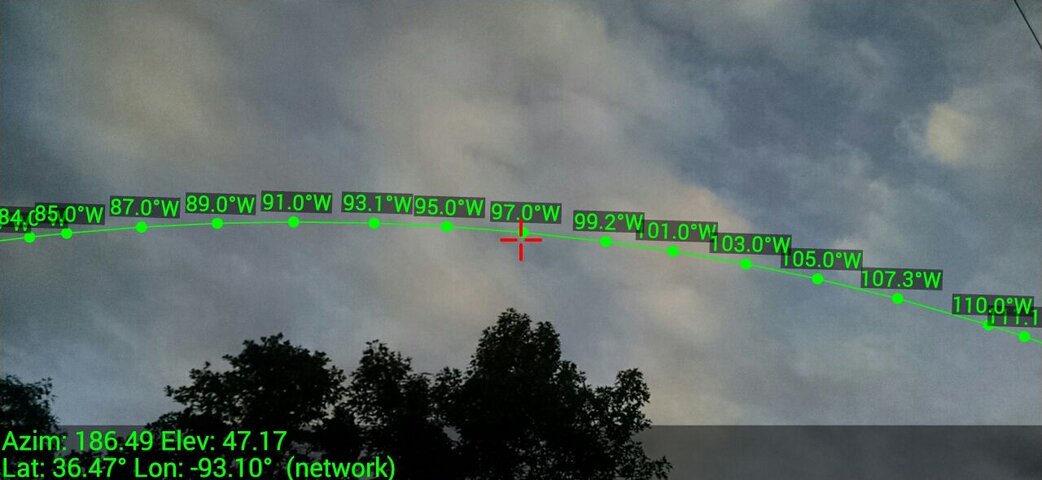
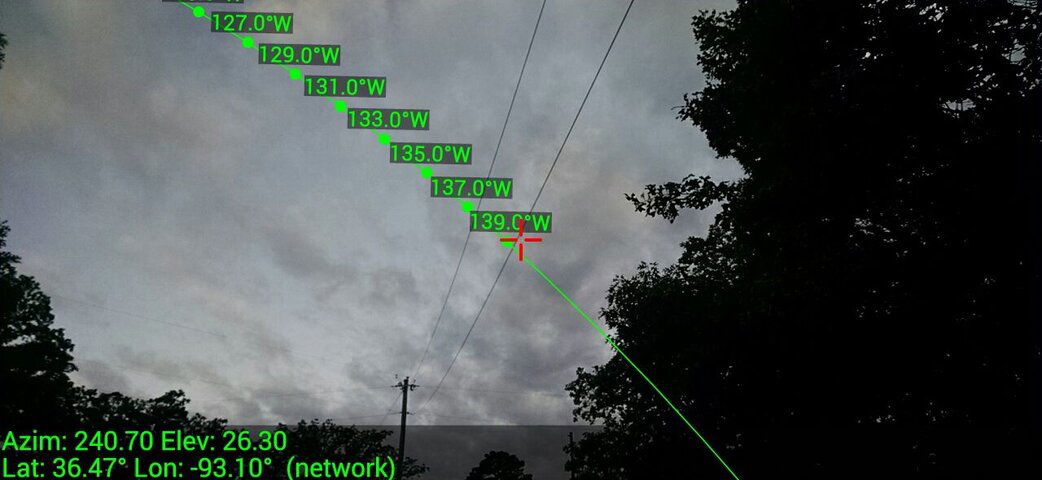
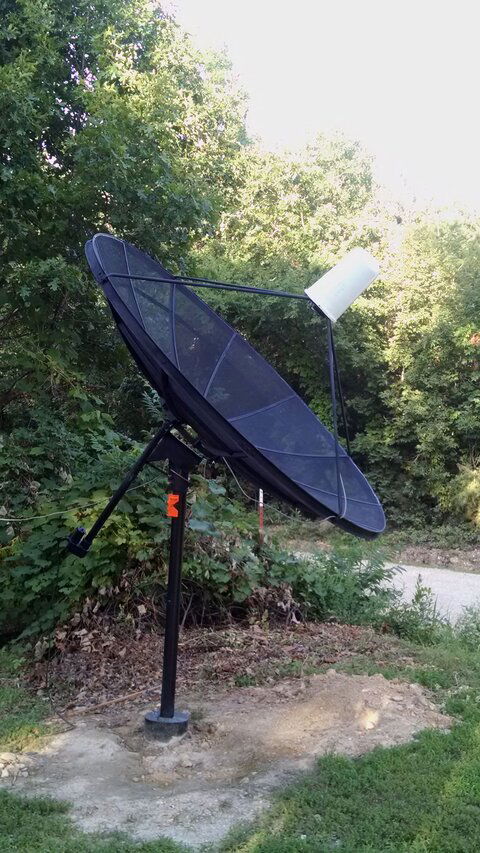
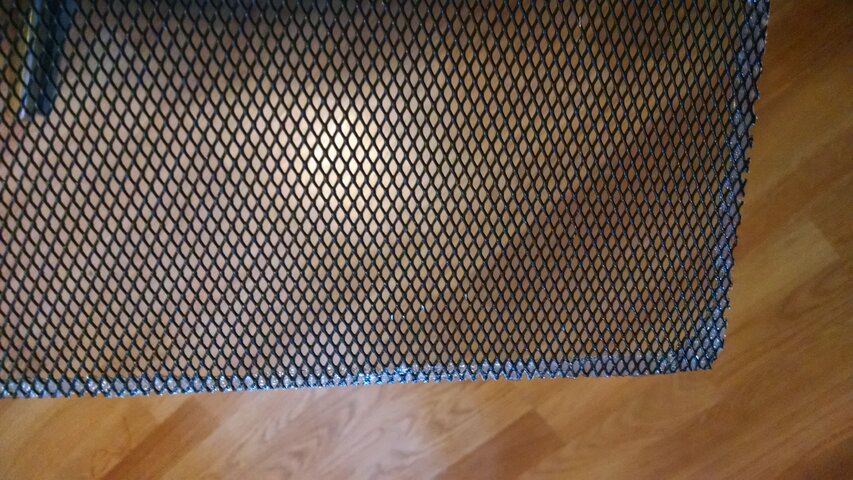
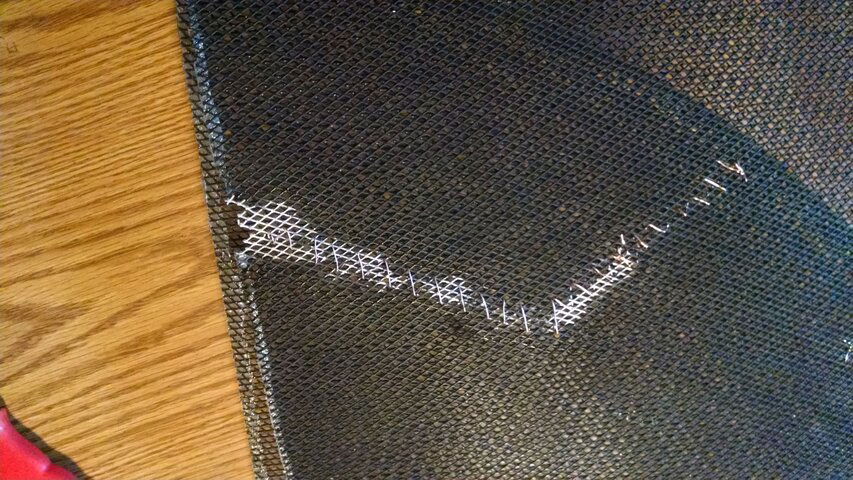
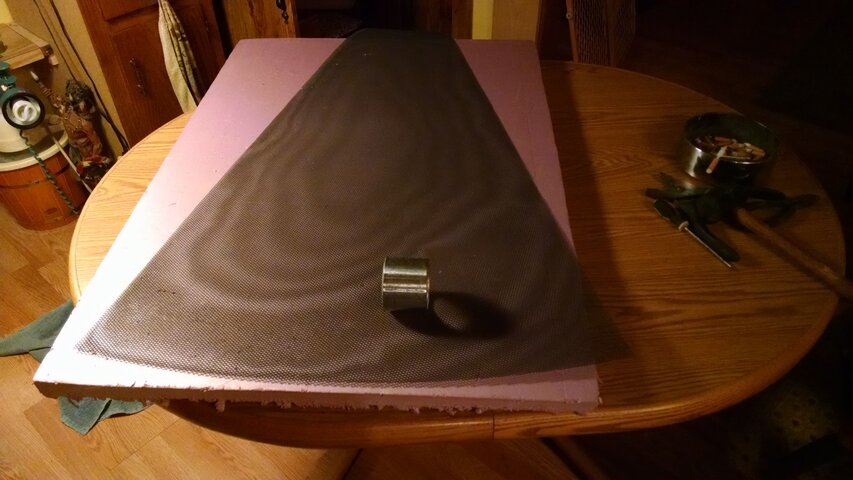
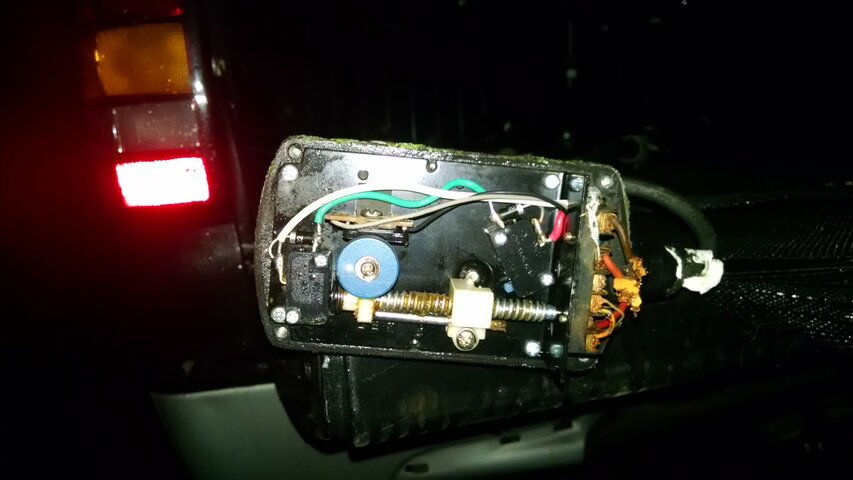
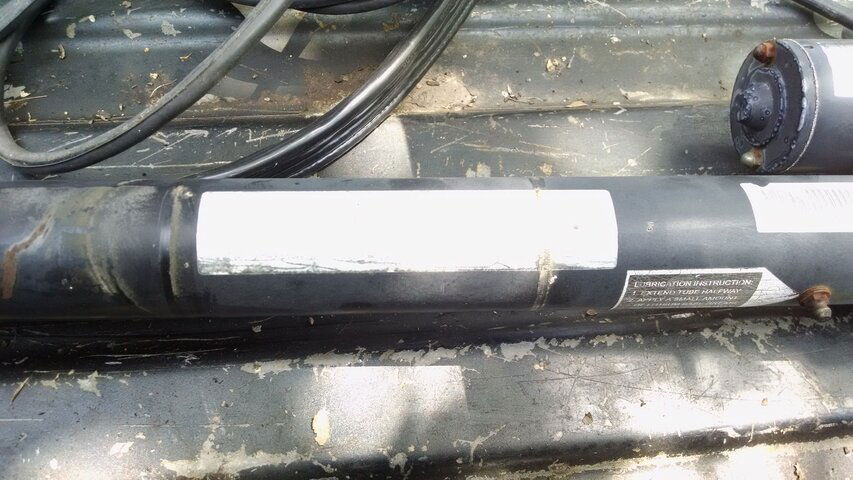
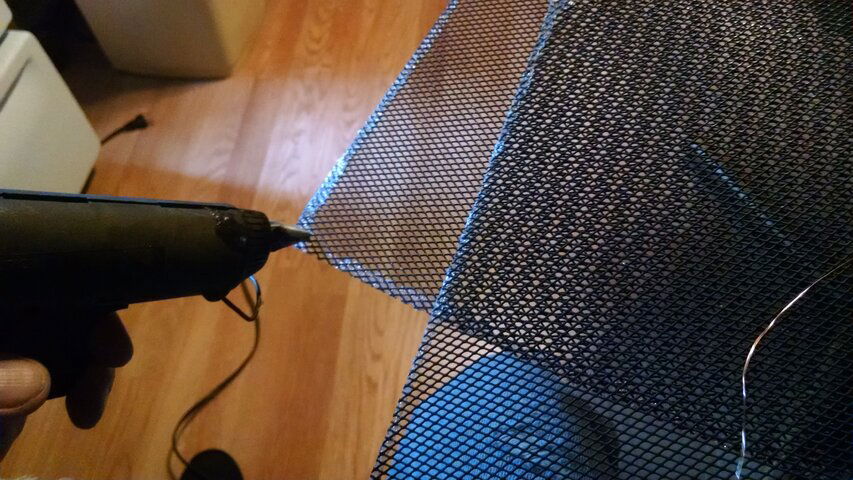
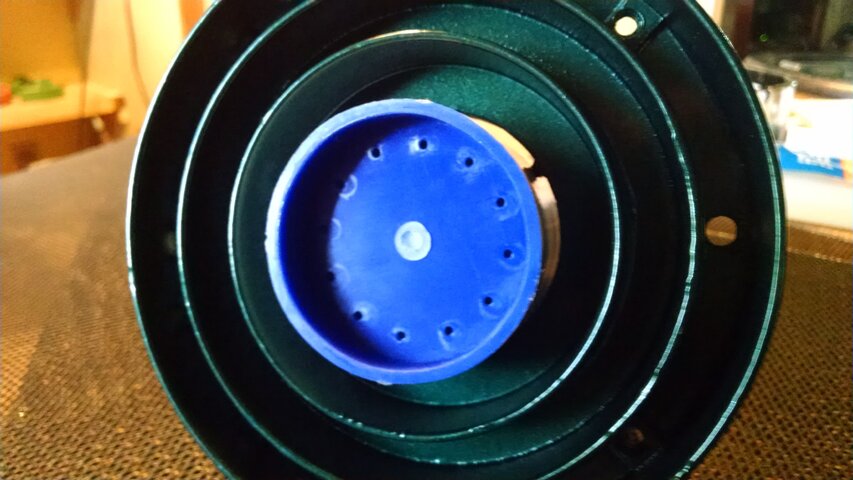
I wanted to send everyone my picks of the project from Before to After, and tried not to send every pic of every procedure, but I wanted to share a few tips I've learned along the way. From information that I learned from this forum, I have plugged the very center hole of the LNB cover to avoid bees and wasps from nesting, but I also wanted to share an idea I had for my mesh panels. I noticed that the previous owner tried to slip the panels into the grooves without removing the holding clips, and suffered kinks, bends, and tearing of the mesh. The easiest and least damaging way to get the panels to fit properly is to simply slide the panels out as careful as you can, and reinstall them from the outside in. Trying to stuff them back into their respective grooves stresses the brittle mesh material, and can tear on you, and you will either need to sew them together with wire, or replace them, and I've noticed that they are proud of these things. After removing the clips, I gently slid the panels out, took each panel one at a time, and took a steel pipe about 2" long, and layed each panel out on a firm surface, and smoothed out all of the bumps and bends out of them on both sides, then I applied a thin edge around each panel with hot glue to reinforce the outside edges to not only keep them from tearing as easily, but they are not so jagged to cut yourself from them. And best of all, if you keep the hot glue around the edges thin, it will keep the panels tighter in their grooves, and I'm not needing any clips anymore, cause the panels are snug, and do not even flap in the grooves. They are a little tighter to put back in, so moving the panels on the top and bottom with your hands is the way I did it. The dish had 2 panels with tears, so my wife stitched them together with thin copper wire, and I just painted the panels to cover up the stitches. You won't hardly notice them, and the integredy of the panels is in tact. The concrete might not look like it is enough, but the round concrete top you see is only to allow for weed eating around the pole. The meat is underground with a 1 foot round, and 3 foot tall circular base under the one on the surface. Road gravel was packed around the base, then some chat, then the rest of the dirt that was initially dug. I don't have a wide open space to choose from, so I am seeing from about 65W to 139W anyway, so I'll do with what I have. I will be doing some art work on the pole, and the theme will be camo, so look for some new pics when it stops raining here in the Ozark mountains. We are not in a low water zone, but the rain as of late is keeping everyone here hopping.
there were days where I couldn't stay outside for long periods of time, cause it was so humid, that between the humidity, and the mosquitos, it was everything you could do to keep moving forward. I need a shirt that says "KEEP REFRIGERATED". I guess it was all those years growing up in Iowa. I can take cold better than heat. My wife is from
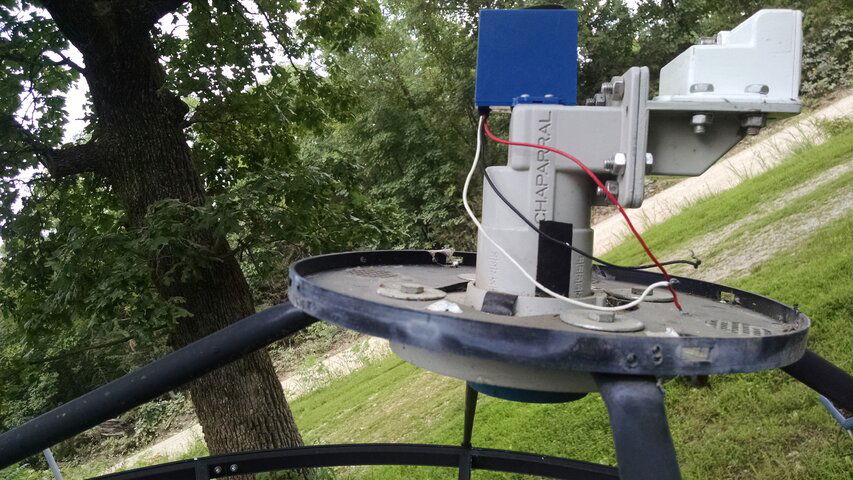
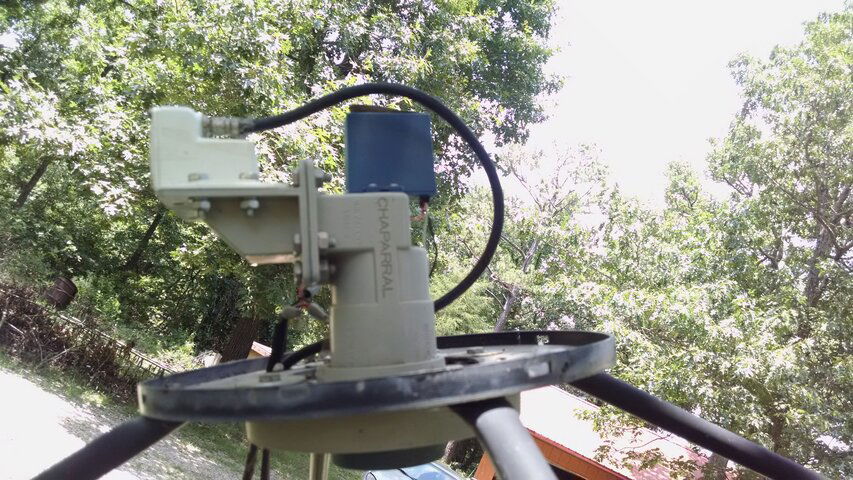
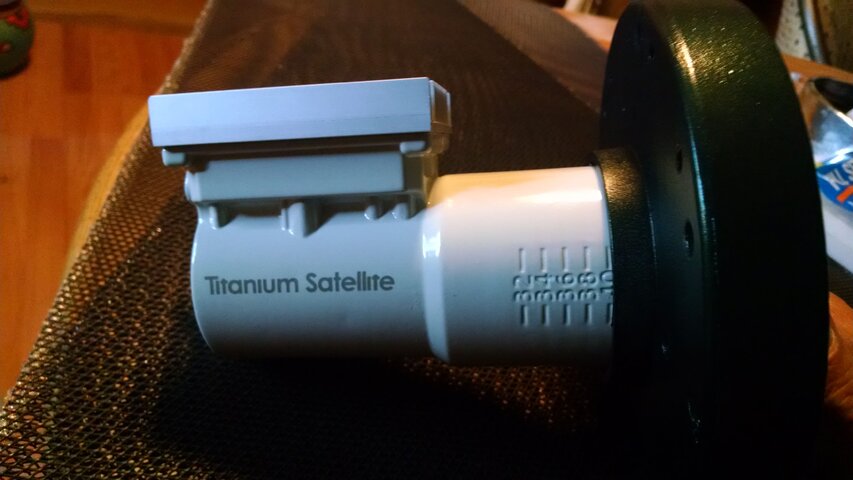
Arizona, so you can imagine the Thermostat wars we have. She stayed in the house where it was comfortably cool for her, but when I came in the house, I needed to turn it down for a bit to get down to temp. She has been a Trooper through it all, and has been really patient. Other than humidity and rain to deal with, it has been an interesting little journey in this new hobby, and trying to explain something that is a bit new to me to my wife, and breaking the news that we CAN NOT get everything that is available, it is still not an overly expensive endeavor, and it is still better than paying out $100 a month to the Dish people, and between the 26 OTA Channels we are getting on my homemade DB2 Antenna, it has certainly been a relief cutting the chord. We have our internet with the local phone co. that is a better system than dish, and is $20 cheaper. So between the "BUD", local OTA, and Internet, we'll be set. But it is really fun to just "MacGuyver out" and have fun getting it going. But it is such a rush when it all starts working, and getting dialed in. And to my amazement, after I got everything cleaned, repaired or replaced parts, getting them all looking good, and then dialing in the numbers to set the elevation to where we live, getting the declination set, the focal distance, focal length, and getting the azimuth lined up right, and getting the receiver to see a good quality, and to start loading channels to watch, it is an absolute feeling of accomplishment. Cause as a good friend reminded me. It's a dance with the devil to get everything working, but what a kick it is to see it all come together. But I think I might have gotten lucky, as I had the system up and running in 2 days. I had a little help from our friend from Titanium Satellite to guide me with the installation of the C1 PLL LNB. (The one with Wifi filter) It works great, and I have yet to get my ViewSat Ultra-Lite all fixed up with the correct Sat info. I am not sure where to find the LATEST Sat info, so I'll just edit the info as I go. It's a long laborious process. I've seen some info from Satbeam, and other places, but who's the best? Anyway, it's nice to meet you all, and look forward to learning from you and sharing with you as we go. Best Regards Tom (KC5ZVT) P.S. I don't like real long posts either, so my future posts will not be this long. It was needed as my first post to explain things at first the best way I could, so thanks for your patience! Take care folks!!!
I wanted to send everyone my picks of the project from Before to After, and tried not to send every pic of every procedure, but I wanted to share a few tips I've learned along the way. From information that I learned from this forum, I have plugged the very center hole of the LNB cover to avoid bees and wasps from nesting, but I also wanted to share an idea I had for my mesh panels. I noticed that the previous owner tried to slip the panels into the grooves without removing the holding clips, and suffered kinks, bends, and tearing of the mesh. The easiest and least damaging way to get the panels to fit properly is to simply slide the panels out as careful as you can, and reinstall them from the outside in. Trying to stuff them back into their respective grooves stresses the brittle mesh material, and can tear on you, and you will either need to sew them together with wire, or replace them, and I've noticed that they are proud of these things. After removing the clips, I gently slid the panels out, took each panel one at a time, and took a steel pipe about 2" long, and layed each panel out on a firm surface, and smoothed out all of the bumps and bends out of them on both sides, then I applied a thin edge around each panel with hot glue to reinforce the outside edges to not only keep them from tearing as easily, but they are not so jagged to cut yourself from them. And best of all, if you keep the hot glue around the edges thin, it will keep the panels tighter in their grooves, and I'm not needing any clips anymore, cause the panels are snug, and do not even flap in the grooves. They are a little tighter to put back in, so moving the panels on the top and bottom with your hands is the way I did it. The dish had 2 panels with tears, so my wife stitched them together with thin copper wire, and I just painted the panels to cover up the stitches. You won't hardly notice them, and the integredy of the panels is in tact. The concrete might not look like it is enough, but the round concrete top you see is only to allow for weed eating around the pole. The meat is underground with a 1 foot round, and 3 foot tall circular base under the one on the surface. Road gravel was packed around the base, then some chat, then the rest of the dirt that was initially dug. I don't have a wide open space to choose from, so I am seeing from about 65W to 139W anyway, so I'll do with what I have. I will be doing some art work on the pole, and the theme will be camo, so look for some new pics when it stops raining here in the Ozark mountains. We are not in a low water zone, but the rain as of late is keeping everyone here hopping.
there were days where I couldn't stay outside for long periods of time, cause it was so humid, that between the humidity, and the mosquitos, it was everything you could do to keep moving forward. I need a shirt that says "KEEP REFRIGERATED". I guess it was all those years growing up in Iowa. I can take cold better than heat. My wife is from
Arizona, so you can imagine the Thermostat wars we have. She stayed in the house where it was comfortably cool for her, but when I came in the house, I needed to turn it down for a bit to get down to temp. She has been a Trooper through it all, and has been really patient. Other than humidity and rain to deal with, it has been an interesting little journey in this new hobby, and trying to explain something that is a bit new to me to my wife, and breaking the news that we CAN NOT get everything that is available, it is still not an overly expensive endeavor, and it is still better than paying out $100 a month to the Dish people, and between the 26 OTA Channels we are getting on my homemade DB2 Antenna, it has certainly been a relief cutting the chord. We have our internet with the local phone co. that is a better system than dish, and is $20 cheaper. So between the "BUD", local OTA, and Internet, we'll be set. But it is really fun to just "MacGuyver out" and have fun getting it going. But it is such a rush when it all starts working, and getting dialed in. And to my amazement, after I got everything cleaned, repaired or replaced parts, getting them all looking good, and then dialing in the numbers to set the elevation to where we live, getting the declination set, the focal distance, focal length, and getting the azimuth lined up right, and getting the receiver to see a good quality, and to start loading channels to watch, it is an absolute feeling of accomplishment. Cause as a good friend reminded me. It's a dance with the devil to get everything working, but what a kick it is to see it all come together. But I think I might have gotten lucky, as I had the system up and running in 2 days. I had a little help from our friend from Titanium Satellite to guide me with the installation of the C1 PLL LNB. (The one with Wifi filter) It works great, and I have yet to get my ViewSat Ultra-Lite all fixed up with the correct Sat info. I am not sure where to find the LATEST Sat info, so I'll just edit the info as I go. It's a long laborious process. I've seen some info from Satbeam, and other places, but who's the best? Anyway, it's nice to meet you all, and look forward to learning from you and sharing with you as we go. Best Regards Tom (KC5ZVT) P.S. I don't like real long posts either, so my future posts will not be this long. It was needed as my first post to explain things at first the best way I could, so thanks for your patience! Take care folks!!!
Attachments
-
 sat1.jpg2.1 MB · Views: 666
 -
 sat02.jpg1.6 MB · Views: 690
 -
 sat2.jpg1.9 MB · Views: 703
 -
 sat03.jpg390.7 KB · Views: 668
 -
 sat8.jpg1.9 MB · Views: 691
 -
 sat9.jpg2 MB · Views: 631
 -
 sat10.jpg1.5 MB · Views: 607
 -
 sat11.jpg105.9 KB · Views: 589
 -
 sat12.jpg86.7 KB · Views: 606
 -
 sat13.jpg84.5 KB · Views: 574
 -
 sat15.jpg1.4 MB · Views: 636
 -
 satfix1.jpg1.5 MB · Views: 606
 -
 satfix2.jpg1.7 MB · Views: 548
 -
 satfix5.jpg1 MB · Views: 592
 -
 satfix9.jpg536.1 KB · Views: 541
 -
 satfix11.jpg1.3 MB · Views: 521
 -
 sat25.jpg1.3 MB · Views: 613
 -
 sat21.jpg758.5 KB · Views: 584
 -
 sat22.jpg882.1 KB · Views: 508

 to SatelliteGuys!!!
")